How to Make Classic Peppermint Bark for the Holidays
Peppermint bark, a layered chocolate confection with crushed peppermint candies, is a holiday staple that home cooks can easily prepare. This guide covers essential techniques, ingredient choices, and storage tips to ensure a crisp, festive result.
 no bake
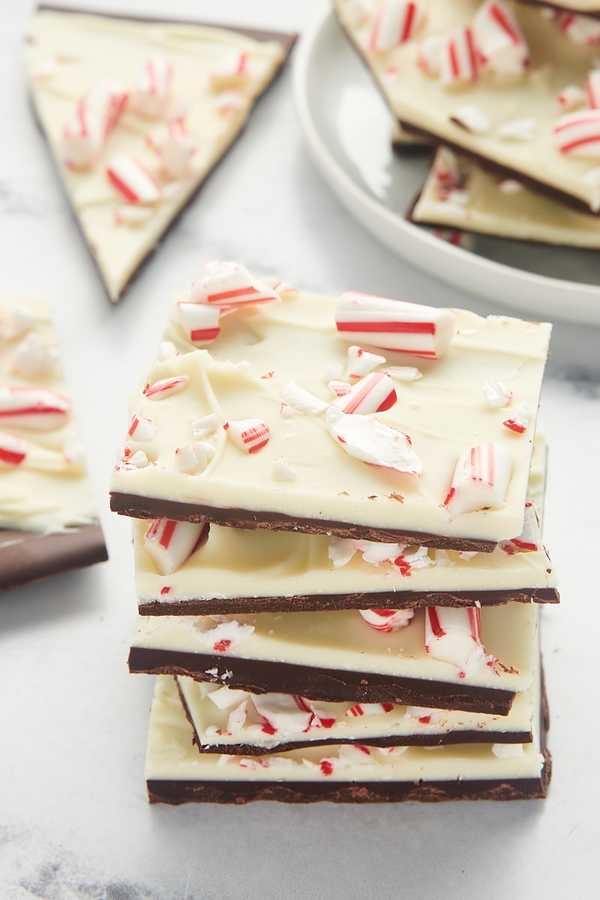
Peppermint bark, a confection of dark and white chocolate studded with crushed peppermint candies, has become a staple of holiday dessert tables. While it appears in stores each winter, making it at home requires only a few ingredients and about an hour of active preparation. The result is a crisp, festive treat that also serves as a practical homemade gift.
The classic recipe calls for 12 ounces of semisweet or bittersweet chocolate, 12 ounces of white chocolate, half a teaspoon of peppermint extract, and 1.5 cups of crushed peppermint candies. The dark chocolate is melted, mixed with a quarter-teaspoon of extract, and spread on a lined half-sheet pan to chill for 30 minutes. The white chocolate is then melted, combined with the remaining extract, and poured over the set dark layer. After sprinkling the candies on top and pressing them in gently, the bark returns to the refrigerator for about an hour until fully set.
One of the most common challenges is keeping the two layers from separating when the bark is broken into pieces. The key is to let the first layer chill just until firm but not completely hard—30 minutes in the refrigerator works well for most kitchens. Keeping both layers thin also helps them adhere. If the dark chocolate feels tacky to the touch, it needs more time to set.
Choosing the Right Chocolate
The quality of the chocolate directly affects both flavor and texture. For the dark layer, a bar or disc with 60 to 70 percent cacao is recommended, as it melts smoothly and provides a rich contrast to the sweet white chocolate. For the white layer, real white chocolate—with cocoa butter as the primary ingredient—melts more evenly and tastes better than coatings or chips. Chocolate chips often contain stabilizers that hinder smooth melting, so bars or discs are preferable.
An offset spatula helps spread each layer to an even thickness, which is important for uniform setting. When crushing the peppermint candies, placing them in a zip-top bag and using a rolling pin gives control over the size of the pieces. For cleaner cuts, scoring the top layer lightly with a knife while it is still soft can help, though breaking by hand is also acceptable.
Variations and Serving Ideas
Home cooks can adapt the basic recipe in several ways. Swapping dark chocolate for milk chocolate produces a sweeter, creamier bark. Adding chopped almonds, pecans, or walnuts introduces a crunchy texture, while a light sprinkle of sea salt on the white layer balances the sweetness. For a marbled look, partially mixing the two chocolates before setting—by chilling the first layer for only about 10 minutes—creates a decorative swirl. A simpler approach is to use a single type of chocolate, or to drizzle extra melted chocolate over the finished bark for added flavor.
Beyond eating it on its own, peppermint bark pairs well with hot beverages like coffee, tea, or hot chocolate. Broken pieces can top vanilla or peppermint ice cream, or garnish cheesecake, pudding, and cupcakes. It also fits into a holiday dessert platter alongside shortbread, bourbon balls, or spritz cookies.
Storage and Shelf Life
Properly stored, peppermint bark keeps for up to two weeks at room temperature in an airtight container, with parchment paper between layers to prevent sticking. If the kitchen is warm, refrigeration is advisable. For longer storage, the bark can be wrapped tightly in plastic or foil and kept in a freezer-safe container for up to two months. Thawing at room temperature for a few hours before serving restores its texture.
With its simple ingredient list and straightforward method, peppermint bark is an accessible project for both novice and experienced bakers. The finished candy offers a balance of rich dark chocolate, creamy white chocolate, and a cool peppermint finish that captures the season's flavors.
Related Reads
 no bake
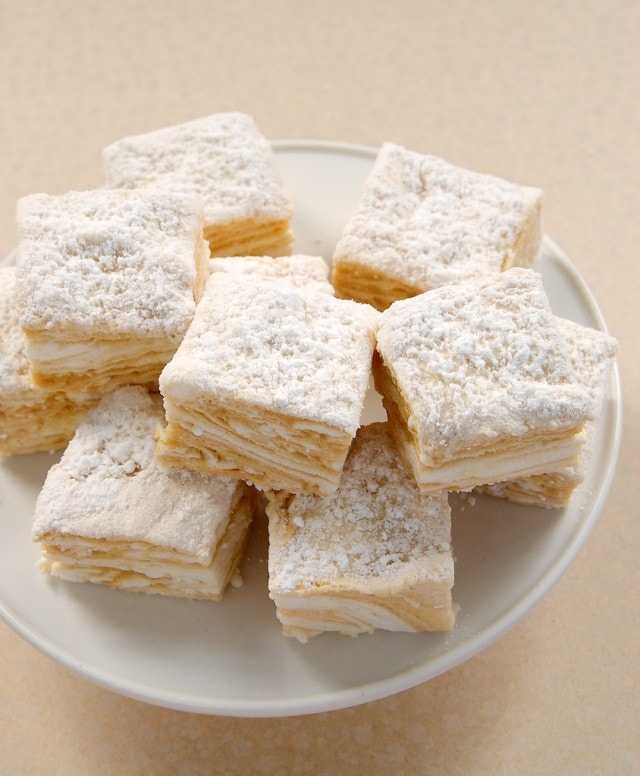
Homemade Marshmallows Get a Sweet-Salty Upgrade with Caramel Swirl
 no bake
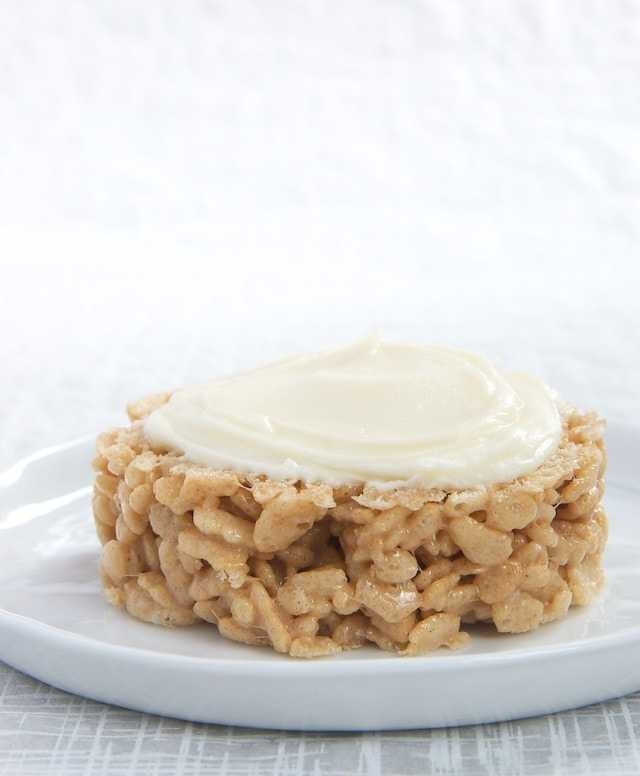
Cinnamon Roll-Inspired Crispy Rice Bars Get a Frosting Upgrade
 no bake
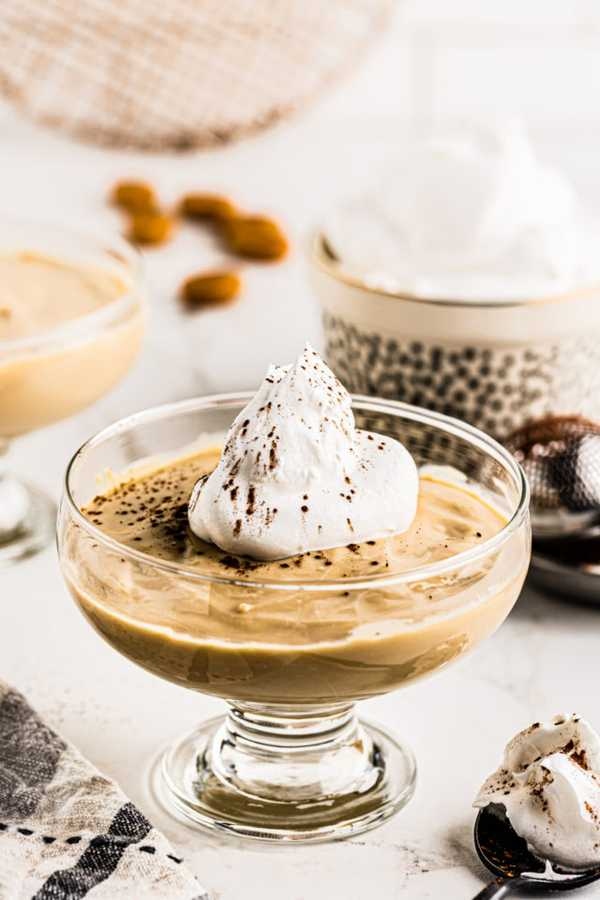
Homemade Butterscotch Pudding: A Simple Stovetop Dessert
 no bake
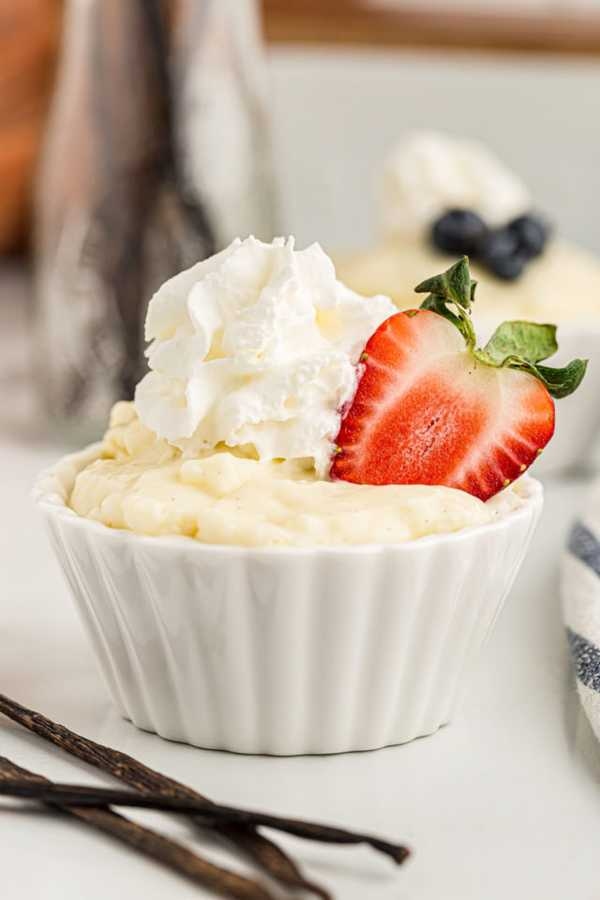
Classic Stovetop Vanilla Pudding: A Homemade Custard Recipe
 no bake
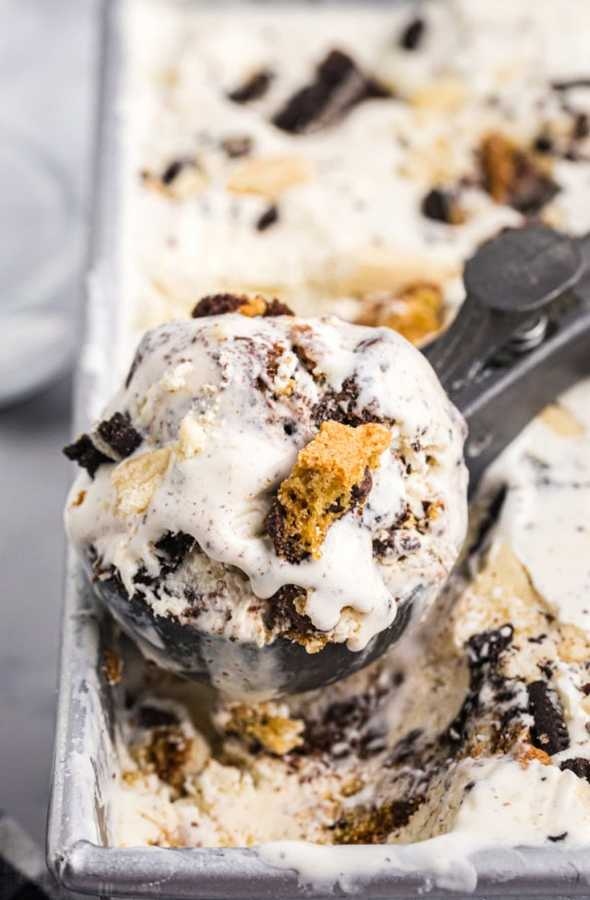
No-Churn Ice Cream Loaded with a Medley of Cookies
 no bake
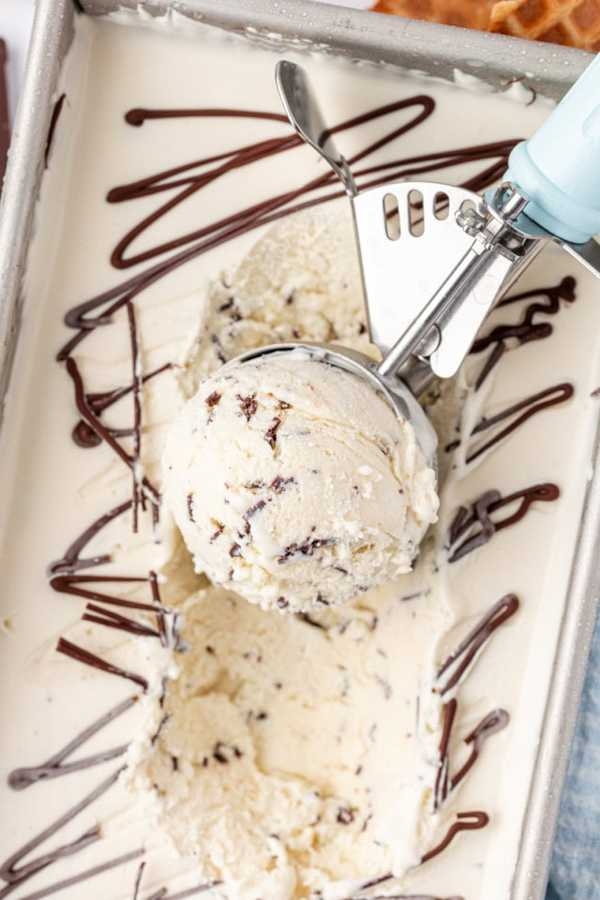
Homemade Stracciatella Gelato-Style Ice Cream Without a Machine
 no bake
Homemade Frozen Treat: Chocolate and Peanut Butter Swirl Without a Machine
 no bake
Beat the Heat: 25 No-Bake Desserts for Summer Gatherings
 no bake
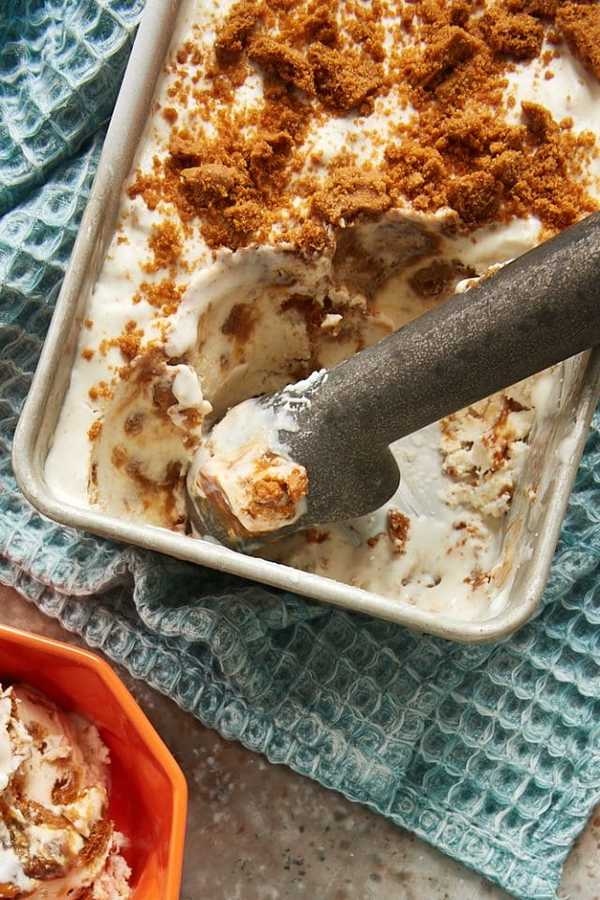
Homemade No-Churn Ice Cream with Biscoff and Dulce de Leche Swirl
Stay ahead of the story
Get one weekly email with the best of Jointheraid.